Industrial X-ray CT
High resolution of 0.3mm for Industrial use of X-ray CT
Export Stereo Lithography (STL) data at 0.3mm resolution.
The product is capable of capturing 50cm wide-angle images; such capabilities make it a powerful tool for analyzing defects in large automotive parts, storage batteries, and fuel cells.
Analysis example : this video shows images that can be obtained from a CT inspection device; an engine is used as an example.
CT imaging gallery
■ CT imaging of a engine block for car (the movie)
As well as the internal structure of a engine block, you can see a position and the shape of voids in a casting at first sight. This CT imaging took only 30 minutes.
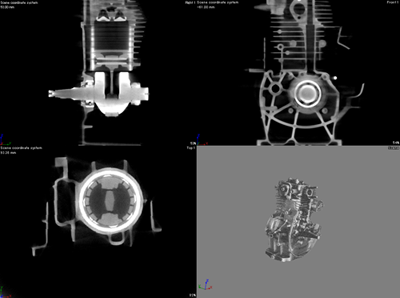
■ CT imaging of a car engine
Our scanner can detect defects in aluminum castings. By using reverse engineering techniques to convert CT data into CAD data, the device becomes a powerful tool for the inspection of automotive parts.
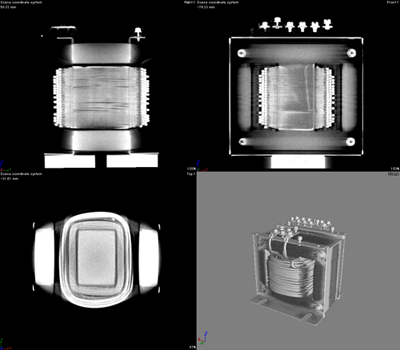
■ CT imaging of a large transformer
Winding wires can be clearly seen even through the iron core.
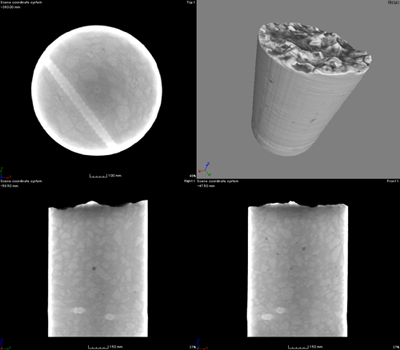
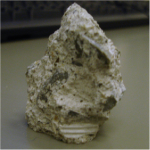
■ CT imaging of a concrete block
The different densities in the concrete particles can be clearly distinguished; besides, the internal steel frame can be visualized.
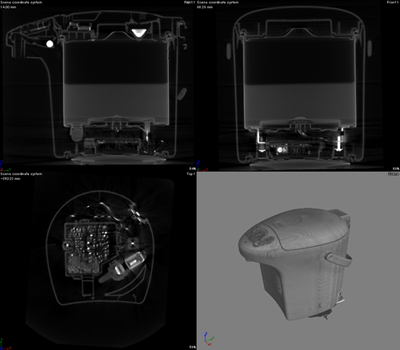
■ CT imaging of an electric kettle partially filled with water
Even large objects can be imaged in a single frame.
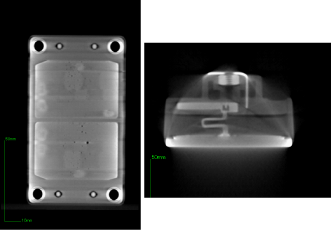
■ CT imaging of an Insulated Gate Bipolar Transistor (IGBT)
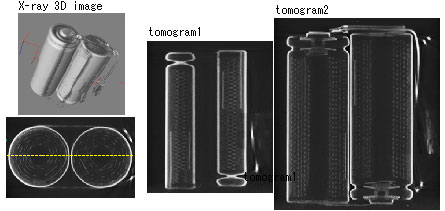
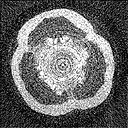
■ CT imaging of a lithium-ion battery
The first cross-section shows that the electrodes are mesh-shaped.
The second cross-section shows the central part of the electrodes.
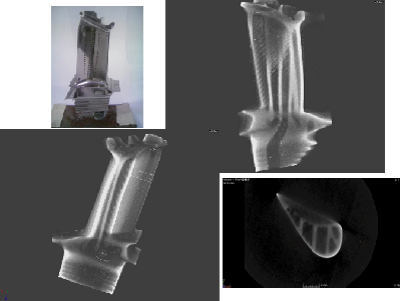
■ The highest resolution CT imaging of a turbine blade.
On the left, a photograph of a turbine blade sample is shown. On the right, cross-sectional images from the CT scans are displayed.
This scan was taken in collaboration with Microscopic Scan Co., Ltd. and Yamato Scientific Co., Ltd.
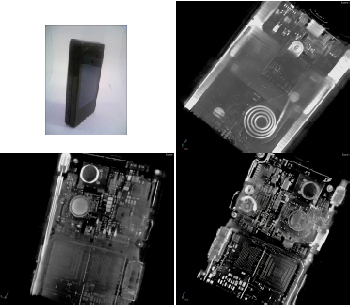
■ CT imaging of a mobile phone
On the left, Photograph of a mobile phone. On the right, Cross-sectional CT scan image of the mobile phone.
This scan was taken in collaboration with Microscopic Scan Co., Ltd. and Yamato Scientific Co., Ltd.
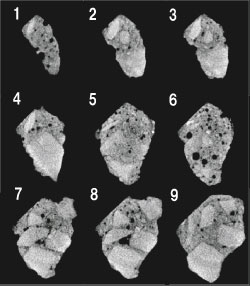
■ CT imaging of concrete
This is a CT image of a lump of concrete. The scans vividly show the different densities in the concrete as it sets progressively over time.
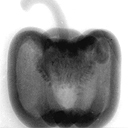
■ CT imaging of a bell pepper
A phase contrast image of a red bell pepper reveals the complex internal structure of this vegetable.
Seeds and other internal structures are clearly visible.
The image on the far right shows cross-sectional CT images of a pepper.
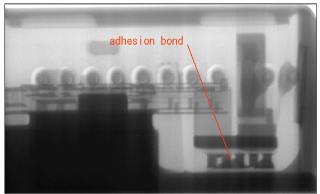
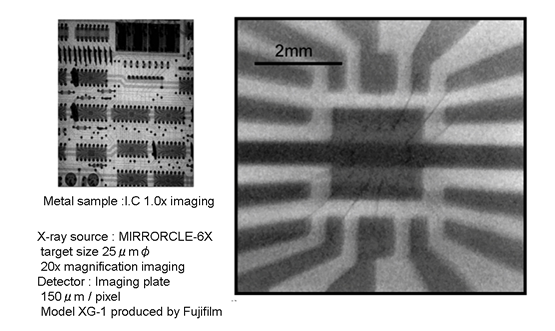
■ Magnified imaging of an electronic component
The scan even shows the adhesives used inside the electronic components.
The electronics of the circuit pattern inside the ceramic package can be seen.
■ CT imaging of a turbo engine
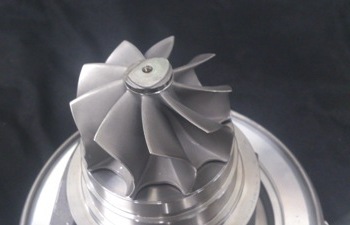
We have been commissioned to perform a nondestructive CT inspection of a turbo engine from an automotive manufacturer.
Fig. 1 shows a photograph of the engine.
Fig. 2 shows the three-dimensional image obtained from the CT scan of the engine.
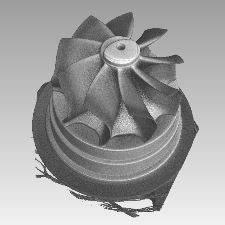
(Fig.1) (Fig.2)
| X-ray source | Microtron |
| X-ray energy | 1,4,6MeV |
| Detector | Flat panel detector |
| Maximum sample size | 50 x 50 x 50cm |
| Resolution | 0.3mm |

